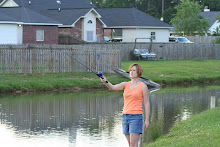
I had the cutest picture of my youngest son dressed up as a cowboy for Halloween, so the Old West cartridge was the perfect thing for this page. This cartridge is absolutely filled with great western cuts. I started my layout by using the cartridge set at 1” to cut a stencil to be used with the glimmer mist along the bottom of the page. Then I layered my pieces of patterned paper and adhered my photo and ribbon. I cut the rope at 2 ¾”, the title at 3”, the hat at 1 ¾”, and the badge at 2”. Then I gave them a spray with the glimmer mist to give them a more aged appearance. I finished dressing my page with the epoxy brads.

We all know what great embellishments you can cut with your cricut, but you can also use that negative space to create stencils for glimmer mist, paint, chalk, etc.
I used the star cut from the Old West cartridge and cut a row of stars on my cardstock. Then I placed this stencil over my background paper, covered the rest of my background paper with another piece of cardstock, then sprayed my glimmer mist over the stencil.

What you end up with, is a perfect line of glimmer mist stars on your page.


3 comments:
This is great, Karen and I love that star border!
Super cute lil cowboy!
Love this layout and tip!!!
I have awarded your blog The Versatile Blogger Award. Please check out the post below and pass it on!
http://stealthdiva.blogspot.com/2011/05/yeah-my-blog-was-just-awarded-versatile.html
Post a Comment